Showing posts with label stencil. Show all posts

Wednesday, 26 October 2011

Family motto

This project was one I'd had on my mind for ages. It's actually 1 part of what will be 3 sections - the first section, 'a shabby shelf', is finished already, the second part is this frame and the third part is a table that is currently in the workshop.

This started off its life as a picture that had been on our walls for years - in the bathroom!!???!!, however originally it was my sister in laws so it's been around a while:

Seriously faded. The colours are all Blue.

We used to love the picture, in fact hubby still does but once I'd actually taken the picture out of the frame is was sooooo obvious how much it had faded.
Once I'd taken it all apart I gave it a good sand down making sure the awful gold flake area was done extra well.
Then I gave it a coat of Patio Paints in 'Patio Brick'. Originally I had intended to then go over it with a cream paint and sand it back but I changed my mind - I kept it in the Brick colour.
It was also intended to be a pin/memo board with areas for letters ready for posting and also an area for a calender but I changed my mind about that as well...
Then it was just going to be a pin/memo board but guess what? Changed my mind about that too.... see, this is why I don't plan my projects - I always change them.

Finally I decided I would make it into a board with a quote. As it would be hanging in the hallway I figured it would be a cute thing to have.
I spent an age trying to find something to use that I could paint onto that would fit the frame and then I had a brain wave ..... yep me....
I used the backboard that originally held the picture in place - cool idea eh!
It took a bit of sanding back because I had to use the back of to write on  because the front was too rough and had a weird texture. The back however had had years of tape stuck to it so the sanding took a wee while.
Once it was sanded down I painted it with Patio Paints 'Cloud White' and then a couple of coats of 'Contemporary' emulsion paint.
Once dry I sanded it back to reveal the White and also the dark board beneath:

It is actually more sanded than this piccie shows plus this piccie needs turning CCW - Oops!

Next was the frustrating bit.
I knew what phrase I wanted to use - "Life isn't about waiting for the storm to pass, it's about learning to dance in the rain" - BUT I'd ran out of computer ink and was waiting for new ink to arrive.
Could I wait a few days for the ink? Could I eckers like! I had to come up with something else.
So I opened CS5 on my laptop and opened a load of new pages in A4 size. On each one I wrote part of the quote and just hoped and prayed I'd managed to do each one in the same size as I had to enlarge them past the maximum font size.
The best thing about laptops is that the screen is backlit - makes a perfect lightbox.
To copy the letters from the laptop onto paper I turned the laptop round so that the screen was sitting on my knee and simply traced them onto paper:

Look at that for backlighting!

Once I had the image on paper I simply turned it over and traced that image on the back so that I could then put it to the board, scribble over it and have the letters imprinted where I needed them. *HINT: Use a pencil that is dark - these are usually the softer ones. It makes a big difference when tracing the letter to the board. A finer, lighter pencil just won't show enough on the piece you've traced to.
Once the letters were on in pencil I grabbed my permanent pen (a Stabilo & a Sharpie), lay on the floor and went over all those letters.
I always find 'Sharpie' bleeds when you varnish so I try not to use it too much but I've always found that any permanent pen struggles to work on paint and I am constantly (every few strokes) having to get the pen to run again on waste paper - very annoying!!! So if anyone knows of a permanent pen that actually works well on paint pleeeeease let me know.

Once the pen had dried I then gave it another sand down to age it a little.


I'm quite chuffed with how it's turned out. I maybe would change the font next time - This one is 'Before the Rain' and I would prefer the words to cover more of the area.
Overall though it's gonna look great with the 'shabby shelf' and the table.

Thanks for taking a peek, hope you enjoyed it.


This post is linked to
'Ginger Snap Crafts'
'Someday Crafts'
'Night Owl crafting'
'The Girl Creative'
'Delightful order'
'Bear rabbit bear'
'The DIY showoff'
'Flamingo Toes'
'The Shabby Nest'
'Miss mustard Seed'
'Finding Fabulous for Less'

Monday, 24 October 2011

Sideboard makeover

I think I may need therapy!
Seriously!!
I'll begin here, now.
My name is Linda and I am addicted to Shabby chic!!
There I said it, I feel so much better now. Doubt I'm cured though.

This project started off as a £5 sideboard at the local cahrity shop. So determined to have it and take it home there and then that I insisted that myself, my daughters and their friend could quite easily carry it outside, down the steep alleyway and all the way up to the car park. Never mind that all three girls were in high heels (how stupid to go shopping in shoes you can't carry goodies in!).
"It won't fit in the car mother!!" That's not really a helpful comment is it - who needs reality when a piece of furniture is destined to go home with you?
"It will if you three catch the bus home!" The looks on their faces were classic. I'd like to think that I wouldn't have gone that far but.............
So the bemused shop assistants who kept trying to get me to pull up outside (nah, no need for that I insisted) opened the doors fully wide for us and ushered everyone out the way.
I grabbed the end first and immediately put it back down rather sheepishly. Reality had sunk in a) no way could the girls pick this up. B) No way was it going down the alley without someone suffering a broken leg, and C) No way was it going to fit in the car.
"I'll just leave it here for now and get my husband to pick it up" - note I said that in a tone that would suggest I thought everyone in the shop was stupid for not having thought of that in the first place - don't you just love people like that!

Anyway, hubby said it wouldn't fit in his little van so a friend had to pick it up and keep it in his van. For 3 days! 3 days!! You can imagine can't you, the anger, the impatience and the sulking?

So here is the sideboard as it was


Yep, THAT is what all the fuss was about! Hard to believe eh?

Right from the start I knew what I wanted to do with it.
The glass was to come out, shelves to be repositioned and maybe just one to each side, the top was going to be renewed with 6x2 wood that was to be stained and the unit itself was to be a solid cream colour.
So the glass came out as did the shelves and I sanded it to within an inch of its life.
Then I gave it a coat of spray primer. The stuff I used is actually car primer and it was cheap - £1. I know alot of people recommend NOT using the cheap stuff but this one actually did cover well (though not perfectly) and set very quickly. Soooo much better than painting a primer on.
Then I started on the colour coat. We have tins of 'Classic Cream' paint that we bought for the house but thought it looked too yellow on the walls but I figured I'd give it a go on this.
It covered well but putting it on with a brush (even brand new ones) was doing my head in. I hate even the slightest tiny bit of dust or tiny hair and I found I was having to sand down after every coat.
This was making it take an age to complete.
On the back board I decided to stencil a pattern that matched the feature wall in our front room. You can check out how I made the stencil 'here'.
At first I loved the finished stencil look but the more I looked at it the more I thought "what the hell was I thinking?"


I really do not like it now but I left it simply because I was sick of all the painting by this point.
During the final sanding I kinda got carried away and then decided that the piece would look much better as a shabby piece. It so does!
The shelves were also sanded but despite my original 'plan' they went back in in their original place.
As for the top. Well I decided I didn't want the chunky wood top I wanted to do more sanding - see, told you I need therapy!.

This is the finished piece


>


It really is more sanded than it looks - honestly! I just haven't got the hang of taking decent piccies yet!
The bottles on the top I got for 79p each from a bargain store when I was in England recently. The flowers in the vases were not what I really wanted but they were all I could find in the bargain shop.
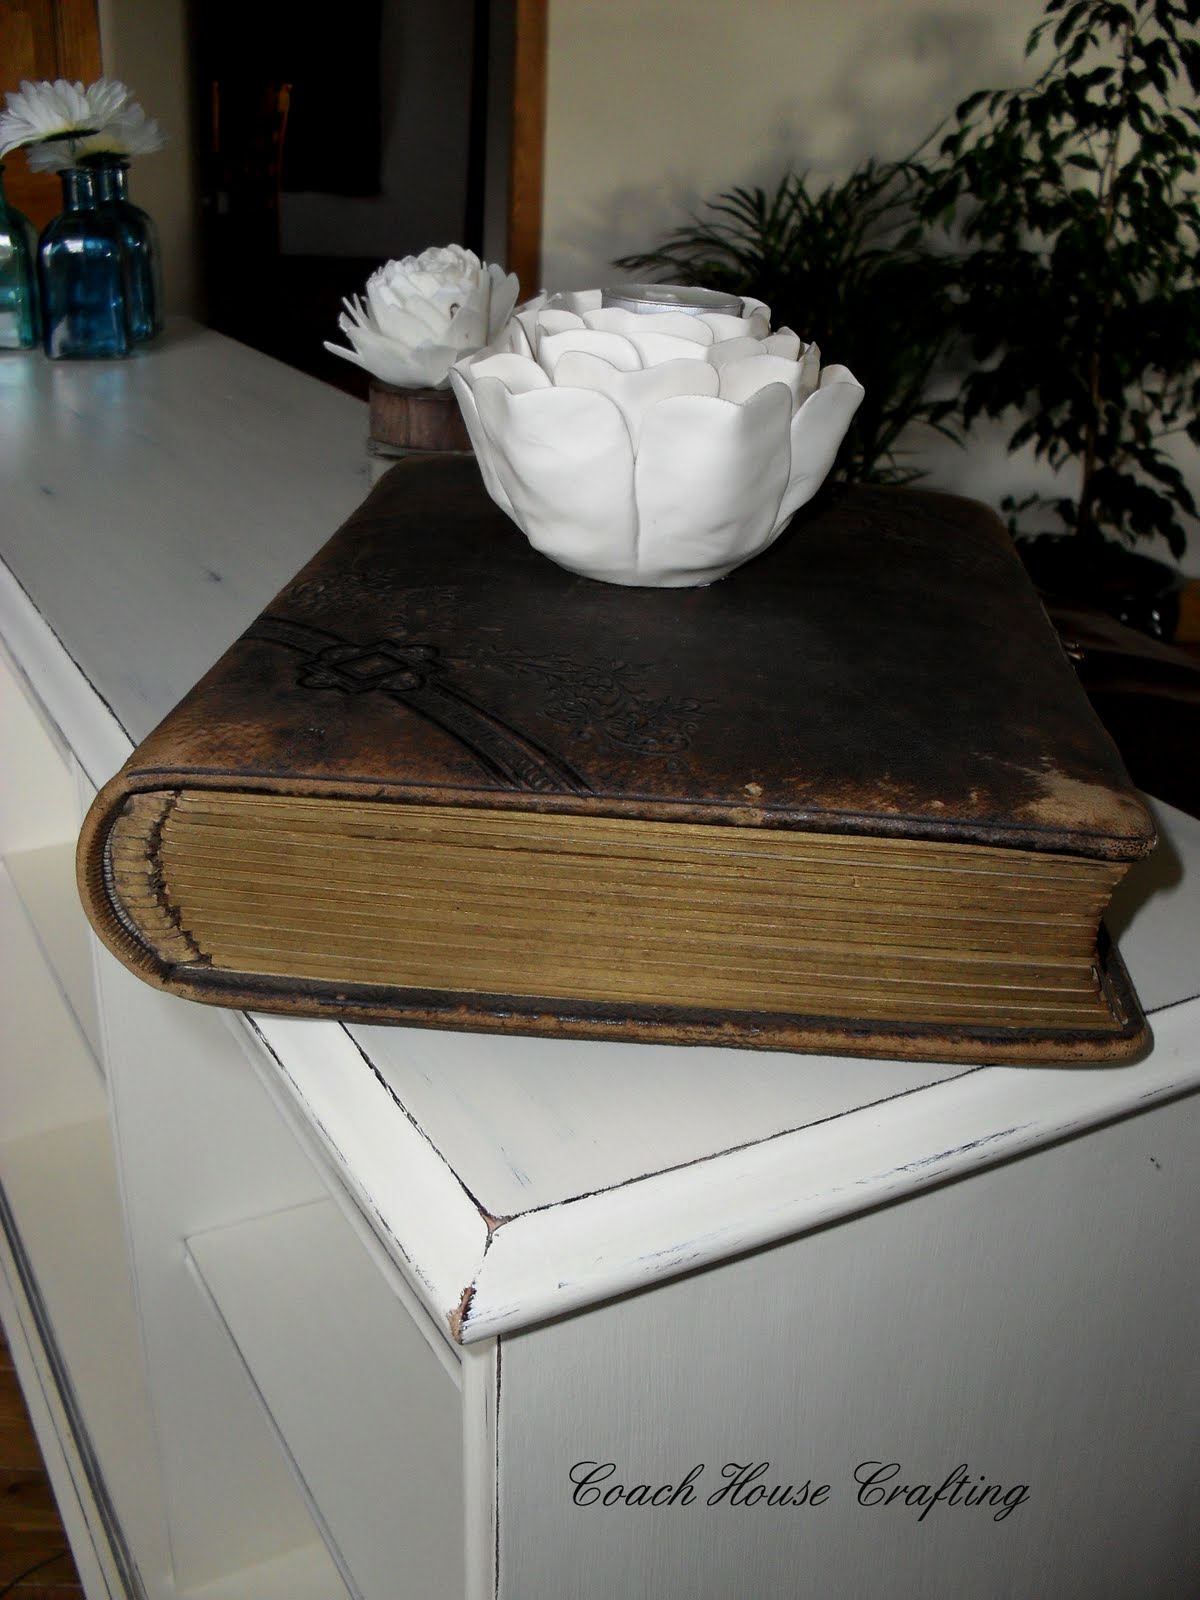
The book on the other end is an old one that my mum gave me.

So thanks for stopping by, pop back anytime.


This post is linked to:

'Craft-O-Maniac'

'Three Boys'
'Restore Interiors'
'Three boys vintage furniture'
'It's a Blog Party'
'Kammys corners' 
'Common ground' 
'Cherished Bliss' 
'Its a hodgepodge life' 
'Domestically speaking'

Monday, 10 October 2011

Shabby racks & home made stencils

I'm right in the middle of making over a sideboard I picked up from the charity shop for a fiver a while ago but in true crafty person style I can't resist doing the odd small project alongside the larger ones while the larger ones are drying.

I recently showed you 'these' coat racks that I made and made mention in that post of a rack that was still undergoing some work.
Well it's finished and here it is:

 shabby racks, shabby chic, coat rack, wood coat rack


I followed the same method as the previous coat rack regarding 'Patio Paint' colours but I then fixed this rack to another length of wood that had had the same 'shabby' treatment.
Before giving the coat of varnish though I added the text 'May every Journey Bring you Home'.

The last text I added to a 'shabby' project were 'these' letters for the bathroom but that time I used a paintbrush to do the text. This time though I needed more flexibility due to all the squirls so decided to risk the 'sharpie' pen. I much prefer to use 'sharpie' for text but it doesn't flow very well on these paints for some reason and I had to keep scribbling on paper to get the flow back - very annoying and very time consuming. I couldn't have done this sort of flourishy text with a brush though - well I could, but it probably would have looked naff!

Once the whole thing  had dried I gave it one coat of satin floor varnish and took extra care not to spend too much time brushing over the text because in my experience 'sharpie' tends to bleed.


HOMEMADE STENCILS:

I've also had to do some stencilling for that cheap sideboard that I'm revamping. I looked everywhere on the net but couldn't find a stencil that I felt would look right and then remembered some wallpaper that I had bought for 50p to line the inside of a wardrobe I was vamping. (another finished project for another day)
The pattern was exactly what I wanted so I traced the image and was half way though cutting it out when I realised it wouldn't make a stencil. Duh!!! The positive and negative parts weren't compatible and I ended up with a just a big gap and  couldn't for the life of me figure out how to alter the pattern to make a stencil. So I sulked instead!
It was during this sulk that I had one of my rare 'lightbulb moments'. I was sat staring at the wallpaper on the feature wall in our front room (It's one of those wallpapers that looked better on the roll than it does on the wall) and I realised the whispy flower would make a great stencil.
So to make the stencil I traced the flower with greaseproof paper and then traced that tracing using a 'sharpie' onto one of the flimsy plastic office file holders you can buy dirt cheap. I bought one for 40p at Tesco and cut it in half to give me two stencils.
Once that was done I used a craft knife to cut it all out. This took an age and 2 days later I have still got a numb forefinger from the pressure.
You could use a stanley knife (exacto knife) but I found it really difficult to get the curves correct with one of those.
I have a craft knife that has many different blades and I found a very narrow one worked best.
*A little tip: move the stencil as you cut as much as you can, it makes life so much easier than trying to trace it with a knife and you're less likely to run off the edge.


That's the finished stencils all cut out.

Next I masking taped it to the internal back of the sideboard. Alot of people recommend spraying it with repositionable adhesive first but I hate the stuff and refuse to use it - I can just imagine the mess I'd make with it.
I actually made two stencils for this flower, 1 was the actual petals and the other was the stem. If I'd tried to make this with one stencil then I would have ended up with a lot of flimsy areas and would definitely have had to use the spray adhesive to get a decent fix.


This image shows  the  second stencil attached over the top of the dried flower pattern.
I didn't use a proper stencil brush for this project as I didn't have one, I just used a stiff bristled 'Harris' brush.
*Top tip: If you're doing it the way I did then be extra careful with the brush. Make sure you stipple accurately and don't press too hard or the bristles could go under the stencil. Also do not overload the brush - when you first dip it in paint stipple it out on waste paper to remove the excess before hitting the stencil. Finally, when you peel the stencil back check the underneath for any bleeding and clean it if need be before repositioning.


That's the final dried stencil.
The colours I used are Laura Ashleys 'Duckegg' matt for the flower and Laura Ashleys 'Apple' matt for the stems. Both paints were tester pots I picked up for 50p - bargain!


Thanks for popping in.


Linked to:

'Skip to my lou'
'Boogie Board Cottage'
'Sugar Bee Crafts'
'Sassy Sites'
'Tip Junkie'
'Not just a Housewife'
'Ginger snap crafts'
'Night Owl Crafting'
'Bear rabbit bear'
'Kristens junk Drawer'
'Ask Anna'
'Making the world cuter'
'Sew can do'