I think I may need therapy!
Seriously!!
I'll begin here, now.
My name is Linda and I am addicted to Shabby chic!!
There I said it, I feel so much better now. Doubt I'm cured though.
This project started off as a £5 sideboard at the local cahrity shop. So determined to have it and take it home there and then that I insisted that myself, my daughters and their friend could quite easily carry it outside, down the steep alleyway and all the way up to the car park. Never mind that all three girls were in high heels (how stupid to go shopping in shoes you can't carry goodies in!).
"It won't fit in the car mother!!" That's not really a helpful comment is it - who needs reality when a piece of furniture is destined to go home with you?
"It will if you three catch the bus home!" The looks on their faces were classic. I'd like to think that I wouldn't have gone that far but.............
So the bemused shop assistants who kept trying to get me to pull up outside (nah, no need for that I insisted) opened the doors fully wide for us and ushered everyone out the way.
I grabbed the end first and immediately put it back down rather sheepishly. Reality had sunk in a) no way could the girls pick this up. B) No way was it going down the alley without someone suffering a broken leg, and C) No way was it going to fit in the car.
"I'll just leave it here for now and get my husband to pick it up" - note I said that in a tone that would suggest I thought everyone in the shop was stupid for not having thought of that in the first place - don't you just love people like that!
Anyway, hubby said it wouldn't fit in his little van so a friend had to pick it up and keep it in his van. For 3 days! 3 days!! You can imagine can't you, the anger, the impatience and the sulking?
So here is the sideboard as it was
Yep, THAT is what all the fuss was about! Hard to believe eh?
Right from the start I knew what I wanted to do with it.
The glass was to come out, shelves to be repositioned and maybe just one to each side, the top was going to be renewed with 6x2 wood that was to be stained and the unit itself was to be a solid cream colour.
So the glass came out as did the shelves and I sanded it to within an inch of its life.
Then I gave it a coat of spray primer. The stuff I used is actually car primer and it was cheap - £1. I know alot of people recommend NOT using the cheap stuff but this one actually did cover well (though not perfectly) and set very quickly. Soooo much better than painting a primer on.
Then I started on the colour coat. We have tins of 'Classic Cream' paint that we bought for the house but thought it looked too yellow on the walls but I figured I'd give it a go on this.
It covered well but putting it on with a brush (even brand new ones) was doing my head in. I hate even the slightest tiny bit of dust or tiny hair and I found I was having to sand down after every coat.
This was making it take an age to complete.
On the back board I decided to stencil a pattern that matched the feature wall in our front room. You can check out how I made the stencil
'here'.
At first I loved the finished stencil look but the more I looked at it the more I thought "what the hell was I thinking?"
I really do not like it now but I left it simply because I was sick of all the painting by this point.
During the final sanding I kinda got carried away and then decided that the piece would look much better as a shabby piece. It so does!
The shelves were also sanded but despite my original 'plan' they went back in in their original place.
As for the top. Well I decided I didn't want the chunky wood top I wanted to do more sanding - see, told you I need therapy!.
This is the finished piece
>
It really is more sanded than it looks - honestly! I just haven't got the hang of taking decent piccies yet!
The bottles on the top I got for 79p each from a bargain store when I was in England recently. The flowers in the vases were not what I really wanted but they were all I could find in the bargain shop.
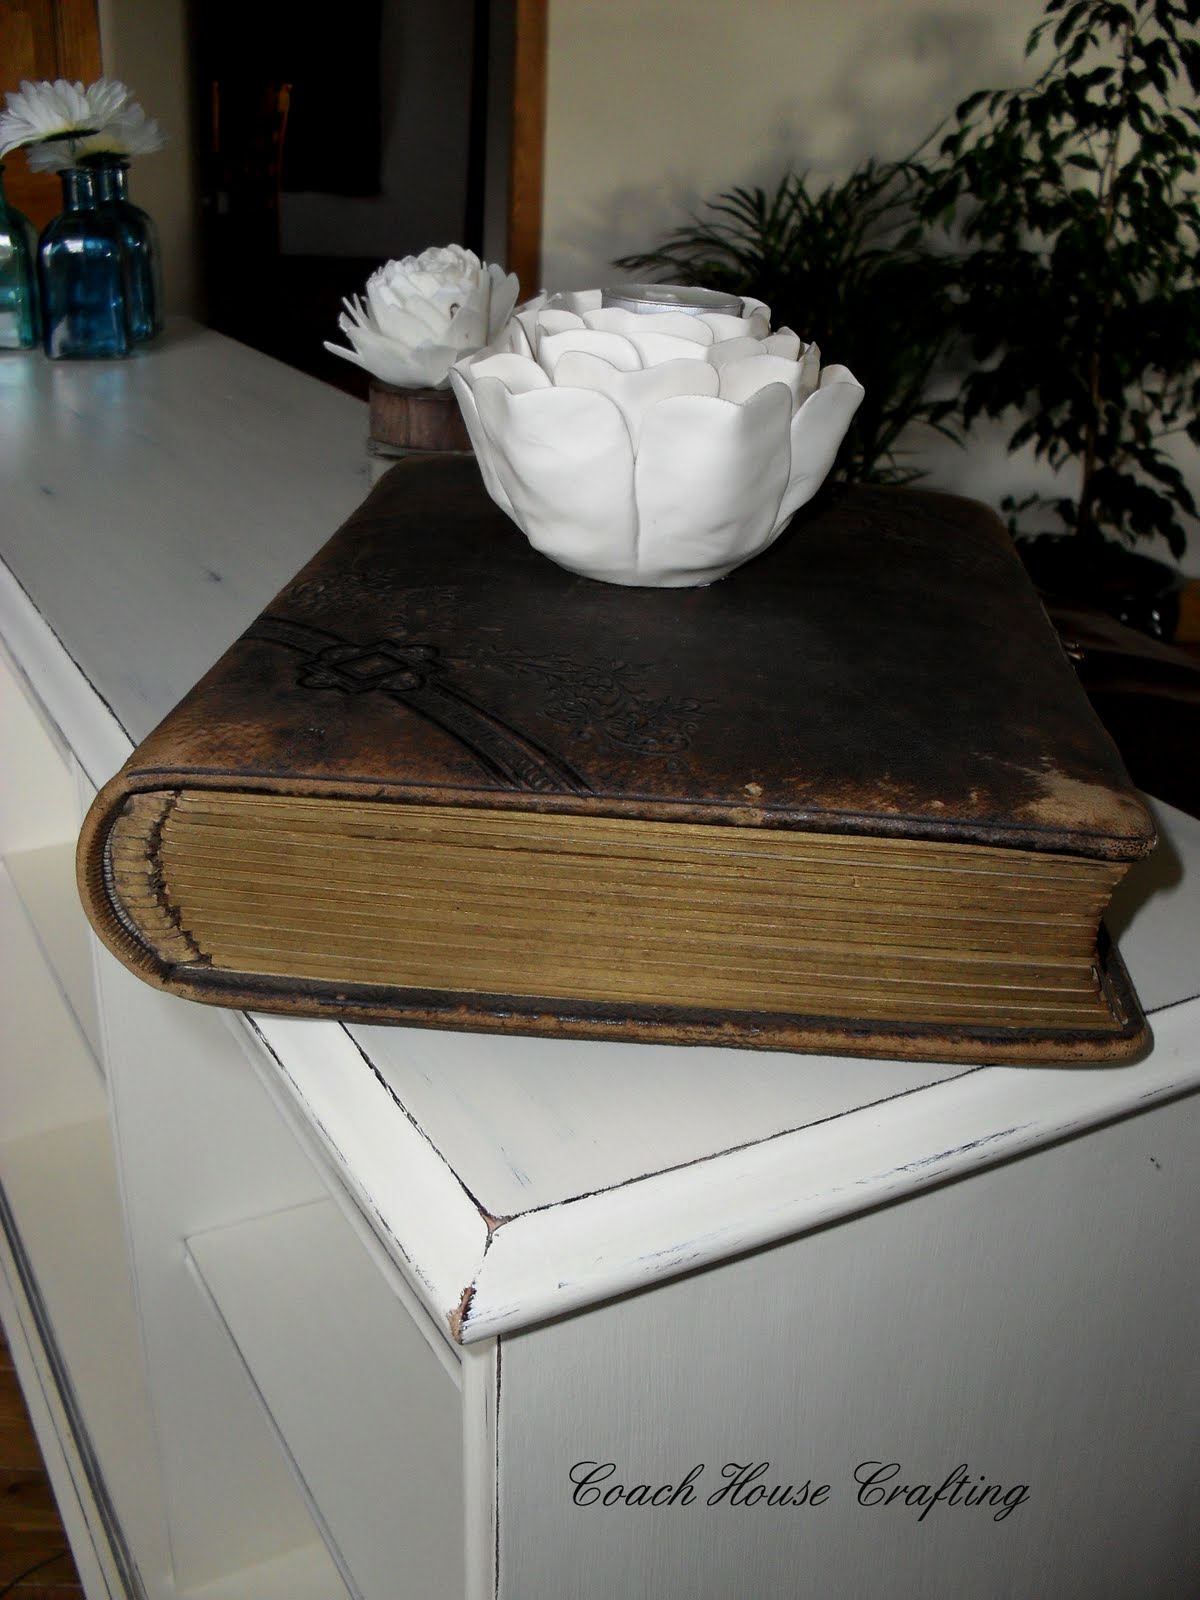
The book on the other end is an old one that my mum gave me.
So thanks for stopping by, pop back anytime.

This post is linked to:
'Craft-O-Maniac'
'Three Boys'
'Restore Interiors'
'Three boys vintage furniture'
'It's a Blog Party'
'Kammys corners'
'Common ground'
'Cherished Bliss'
'Its a hodgepodge life'
'Domestically speaking'