Showing posts with label cord pull. Show all posts

Friday, 26 August 2011

Seashell / wooden cord pull

For the first set of Roman Blinds I made I had to buy the cord pull for it and was gobsmacked by the prices some folk were charging for such a small and simple item. So when I made the next 3 sets of Roman Blinds I decided I needed to put my creative, crafty mind into gear and come up with some thrifty solutions for the job.
I searched the web and found some pretty nifty ideas but nothing that I felt would suit what I wanted so instead I started looking around home and seeing what I could salvage.
I really wanted 2 Seashell pulls for the downstairs loo - 1 for the light cord and 1 for the shower cord (ok, so not Roman Blind pulls exactly) and after rooting around in the top of a plant pot in the front room I found exactly what I needed


2 large spiral seashells.
Obviously they couldn't be attached to the cord without a hole and this is where my trusty Dewalt drill comes in.
These shells have spirals inside them so instead of just having to drill through one shell wall I had to drill through about 3, though I made sure I didn't go through the final wall.
Once the hole went right through I simply threaded the cord through until it hit the final wall, then it was just a case of continuing to thread the cord until it wound its way through the final spiral and out the end.
Once I could grab the cord I simply knotted the end and pulled the cord back up from the top until the knot lodged itself. Because I didn't go through the final spiral wall the knot actually goes inside the shell and can't be seen.


Perfect!


Next I needed 2 pulls for the kitchen Roman Blinds I made. Again I was too stingy to buy them so had another scout around the workshop to see what I could come up with.
Finally I noticed an old wooden curtain pole that had screw on finials on the end - perfect!
I gave them a good clean and then a quick sand down before drilling a hole straight through from the top to the bottom. To make sure this hole was perfectly straight I ditched the hand held Dewalt drill and opted for my husbands hole drilling thingy machine (don't know what it's called but it makes holes. Very quickly & very straight).
Once it had gone all the way through I turned the finial over and drilled a wider hole from the bottom up, though this hole was only a couple of cms deep as it's only intended for the cord knot to sit in to hide it.
Then I gave it another quick sand down and a couple of coats of Black craft paint, threaded the Roman Blind cords through, knotted them at the end and voila! another 2 cord pulls that cost nothing.

Here's the finished cord pull.


This is the underneath.


This post is linked to:
DIY under $5


The Girl Creative

'Thrifty decorating'
'Night owl crafting' 
'Nifty Thrifty Things'

Thursday, 25 August 2011

Easy to make Roman Blinds

I found this tutorial for Roman Blinds and figured I'd give it a go for our new home.
I needed at least 4 Roman Blinds and to get them made to measure would have been amazingly costly, however I'd never made anything like these before and was a bit worried I'd mess it all up.
Not so! - Terrell Designs have fabulous step by step instructions on their website and absolutely everything was there to make Blinds that look pretty amazing.

This is the first set I made.

 roman blinds, diy blinds, fixsall glue,fabric blinds

Strangely this first set was the easiest and the better ones, I guess I really took my time to get the measurements perfect and may have got a bit slack with the others. I made these from a set of curtains I bought from EBay, in fact I made alot of stuff from this one set of curtains: Firstly I took one curtain, cut it into two, sewed up the edges and made a pair of hallway curtains. Then I used the other curtain to make the Roman Blind (curtains were lined so I didn't even have to buy extra lining). I also covered 3 canvases with some of the fabric to hang in the hallway upstairs and I also managed to get 4 cushion covers too. All from one pair of lined curtains - thrifty or what!
The little tab you see hanging on the top left of them actually hides the runners from being seen from the side.

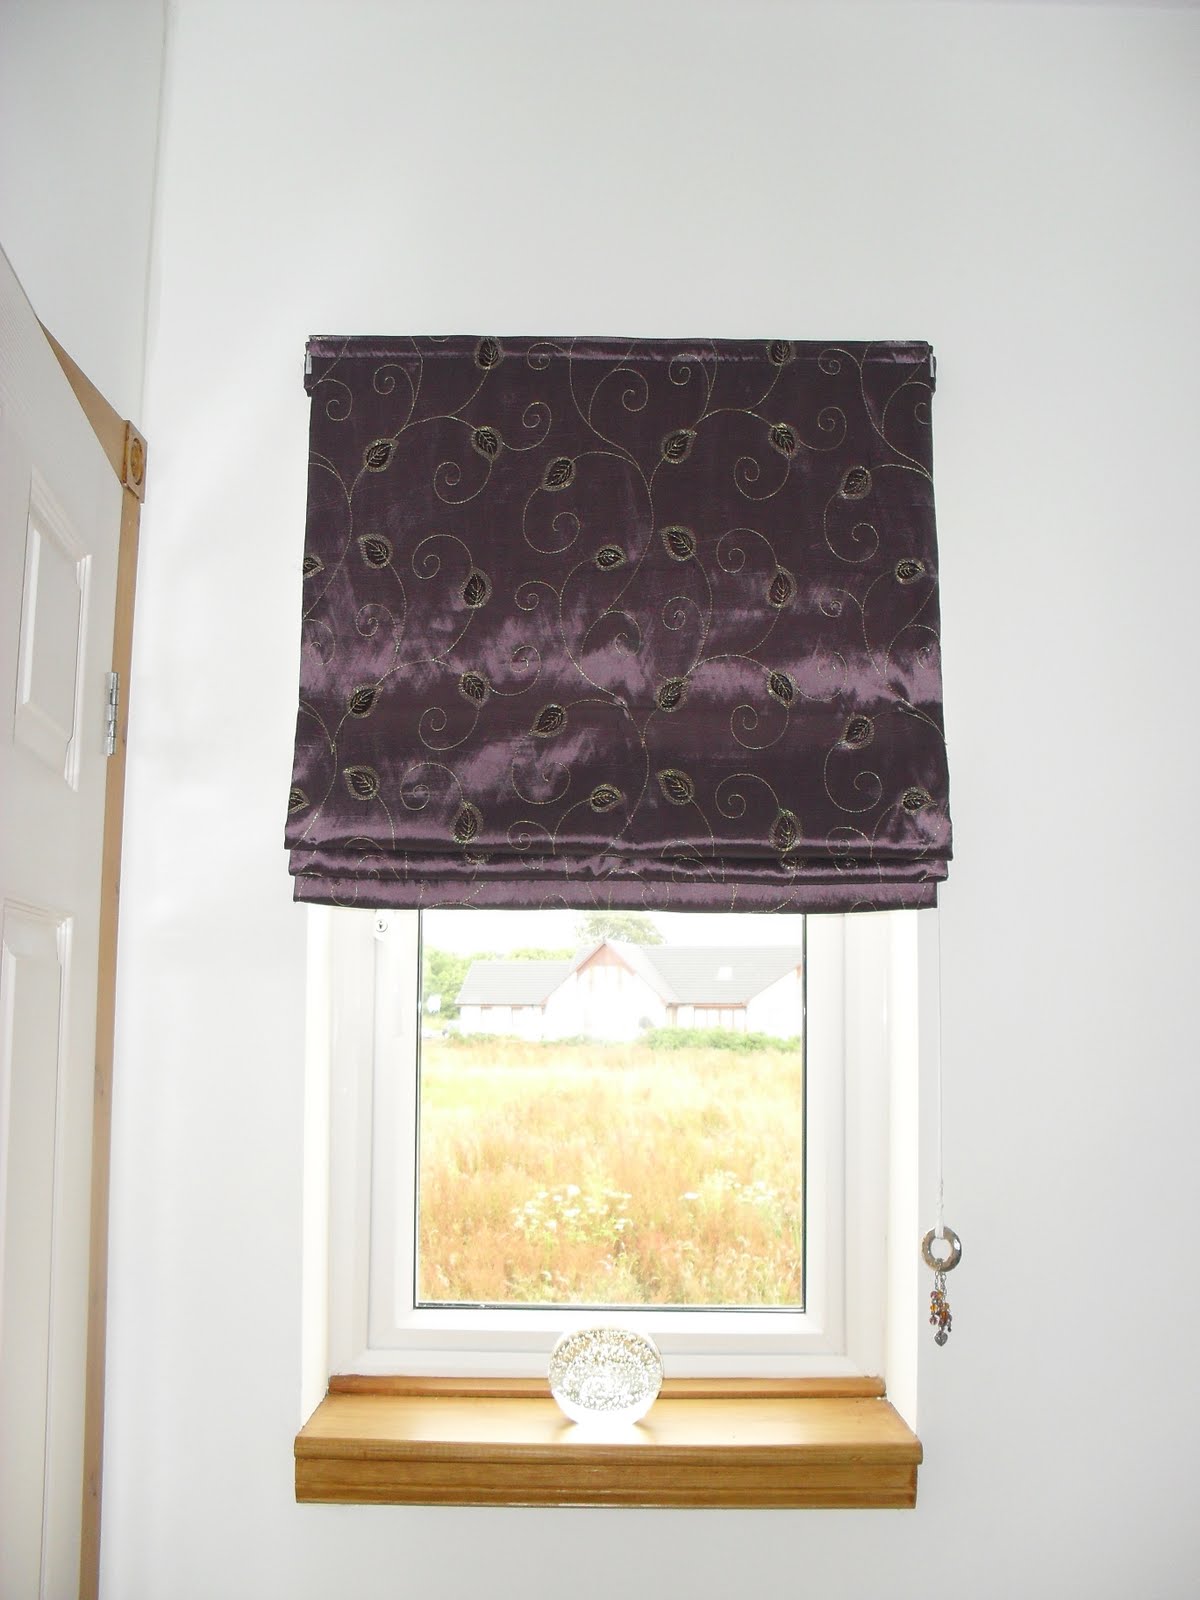
This was the next one I made.

fabric blinds, roman blinds, diy blinds, fixsall glue

I found this a little harder as the fabric was so sheer and lightweight. Terrell advises to use Gemtack glue or similar for the internal battens but I found the glue rubbish to say the least. On these ones I actually stitched the batten to the front rather than glued, I just made sure that the stitches were tiny so as not to show up.
I did put a weight bar (old plastic curtain runner actually) into the hen lining of this Roman Blind (I didn't on any of the others) but this was only because of the fabric being so lightweight. I found it didn't always roll up properly without the weight.
The pull cord is simply an old earring with beads attached.

Finally I made 2 of these.

cheap blinds, roman blinds, fixsall, diy roman blinds

These ones were more fiddly due to the size and my measurements aren't perfect but they are still fabulous and work perfectly.
The pull cords were some wooden finial ends from an old curtain pole. I simply drilled a hole through the middle from the top, painted them black and voila!
These were also made from one pair of 90x90 lined curtains acquired via EBay.

Terrell Roman Blinds are so easy to make, believe me if I can do it then anyone can and they don't have to cost the earth either. The costliest part of it for me was the runners and the locks but even these weren't expensive.

A NOTE ON GLUE: Terrel advises Gemtack or similar and most people who have replied to her website find the glue fantastic. However I found it terrible and couldn't get along with it so I turned to my favourite glue of all time - Fixsall. This glue is industrial strength and will bond anything. It's NOT a superglue, it's so much better. At some point I will post some info on this glue as I use it for absolutely everything from crafting to fixing MF diggers (seriously. And we're not talking toys either!)

Linked with


Keeping It Simple

'It's a hodgepodge life'
'Aworldofcrafts' 
'Sew happy geek'